

Natural dyes have witnessed a resurgence in popularity in recent years, owing to their eco - friendliness and the unique, earthy tones they impart. Among the many natural sources for dyes, cracked walnut shells stand out as an accessible and effective option. As a supplier of cracked walnut shells, I am excited to share with you a detailed guide on how to make a natural dye from these humble yet versatile materials.
Why Choose Cracked Walnut Shells for Dyeing?
Cracked walnut shells are an ideal choice for natural dyeing for several reasons. Firstly, they are a by - product of the walnut industry, which means using them for dyeing is a sustainable way to repurpose waste. Secondly, walnut shells can produce a wide range of warm, earthy colors, from light tan to deep brown, depending on the dyeing process and the material being dyed. Thirdly, the dyes derived from walnut shells are generally non - toxic and gentle on the skin, making them suitable for dyeing fabrics that come into contact with the body, such as clothing and bedding.
Sourcing Quality Cracked Walnut Shells
As a supplier, I understand the importance of providing high - quality cracked walnut shells for dyeing. When selecting walnut shells, look for those that are clean and free from mold or other contaminants. The freshness of the shells also plays a role in the quality of the dye. Fresher shells tend to yield more vibrant colors.
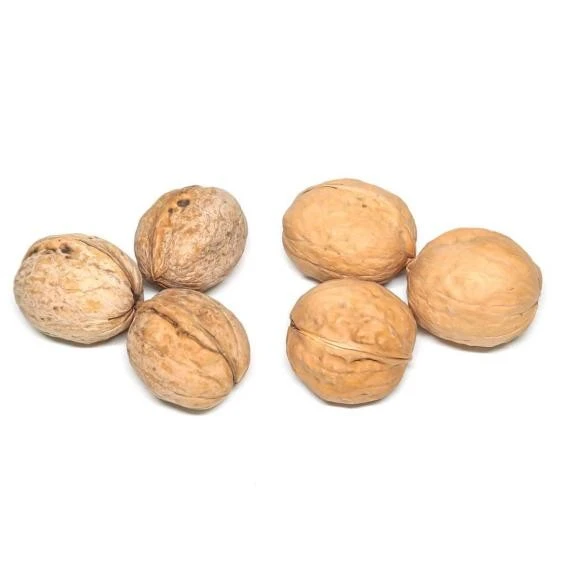

We offer a variety of walnut products, including Unwashed 185 Paper Skin Walnut, Inshell Walnuts Online, and Unwashed Xingfu Walnuts Inshell. These walnuts can be a great source of cracked shells for your dyeing projects.
Materials Needed
Before you start the dye - making process, gather the following materials:
- Cracked walnut shells: The quantity depends on the amount and intensity of the dye you want to produce. As a general rule, about 100 - 200 grams of shells can dye a small piece of fabric (e.g., a handkerchief).
- A large pot: Preferably made of stainless steel or enamel, as these materials won't react with the dye.
- Water: Enough to cover the walnut shells and the fabric you plan to dye.
- A stirring utensil: Such as a wooden spoon.
- A strainer or cheesecloth: To separate the liquid dye from the walnut shells.
- The fabric or material to be dyed: Natural fibers like cotton, linen, silk, and wool work best.
Step - by - Step Guide to Making the Dye
- Prepare the Walnut Shells:
Start by rinsing the cracked walnut shells under cold water to remove any dust or debris. Place the shells in the large pot. - Add Water:
Pour enough water into the pot to completely cover the walnut shells. A good ratio is about 3 - 4 parts water to 1 part walnut shells. For example, if you have 100 grams of shells, add 300 - 400 milliliters of water. - Boil the Mixture:
Bring the water and walnut shells to a boil over medium - high heat. Once boiling, reduce the heat to low and let the mixture simmer for about 1 - 2 hours. Stir occasionally to ensure even extraction of the dye. As the shells simmer, you'll notice the water gradually turning a warm brown color. The longer you simmer, the darker and more intense the dye will become. - Strain the Dye:
After simmering, remove the pot from the heat and let it cool slightly. Then, use a strainer or cheesecloth to strain the liquid into another container, separating the dye from the walnut shells. You can discard the used shells or compost them. - Adjust the Dye Color:
If the dye is too light for your liking, you can return the strained liquid to the pot and simmer it for a bit longer to concentrate the color. Conversely, if it's too dark, you can add more water to dilute it.
Dyeing the Fabric
- Prepare the Fabric:
If you're using new fabric, wash it first to remove any sizing or chemicals. This will help the fabric absorb the dye more evenly. For best results, wet the fabric thoroughly before dyeing. - Immerse the Fabric:
Gently place the wet fabric into the dye bath. Use the stirring utensil to ensure the fabric is fully submerged and to prevent it from bunching up. You can leave the fabric in the dye bath for as little as 30 minutes for a lighter color or several hours for a deeper, more saturated shade. Stir the fabric occasionally during the dyeing process to ensure even color distribution. - Rinse and Dry:
Once you're satisfied with the color, carefully remove the fabric from the dye bath using tongs or gloved hands. Rinse the fabric under cold water until the water runs clear. Then, hang the fabric to dry in a well - ventilated area away from direct sunlight.
Tips and Tricks
- Mordants: Mordants are substances that help fix the dye to the fabric, making the color more permanent. Common mordants for natural dyes include alum, iron, and cream of tartar. You can add a small amount of mordant to the dye bath or pre - treat the fabric with the mordant before dyeing. However, be cautious when using mordants, as they can be toxic if not handled properly.
- Experiment with Different Fabrics:
Different natural fibers will absorb the walnut shell dye differently. For example, silk tends to take on a more lustrous and vibrant color, while wool may result in a softer, more muted tone. Try dyeing small samples of different fabrics to see which ones you prefer. - Layering Colors:
You can create interesting color effects by layering different natural dyes or by over - dyeing the fabric with walnut shell dye after using another natural dye. This can add depth and complexity to your dyed fabric.
Conclusion
Making a natural dye from cracked walnut shells is a rewarding and sustainable activity. It allows you to create unique, eco - friendly textiles while repurposing a common waste product. As a supplier of cracked walnut shells, I encourage you to explore the world of natural dyeing and experiment with different techniques and materials.
If you're interested in purchasing high - quality cracked walnut shells for your dyeing projects or have any questions about our walnut products, I invite you to reach out for a procurement discussion. We are committed to providing the best products and services to meet your needs.
References
- Natural Dyeing Handbook, by Jenny Dean
- The Art of Natural Dyeing, by Natascha Chapple